- You have no items in your shopping cart
- Continue Shopping
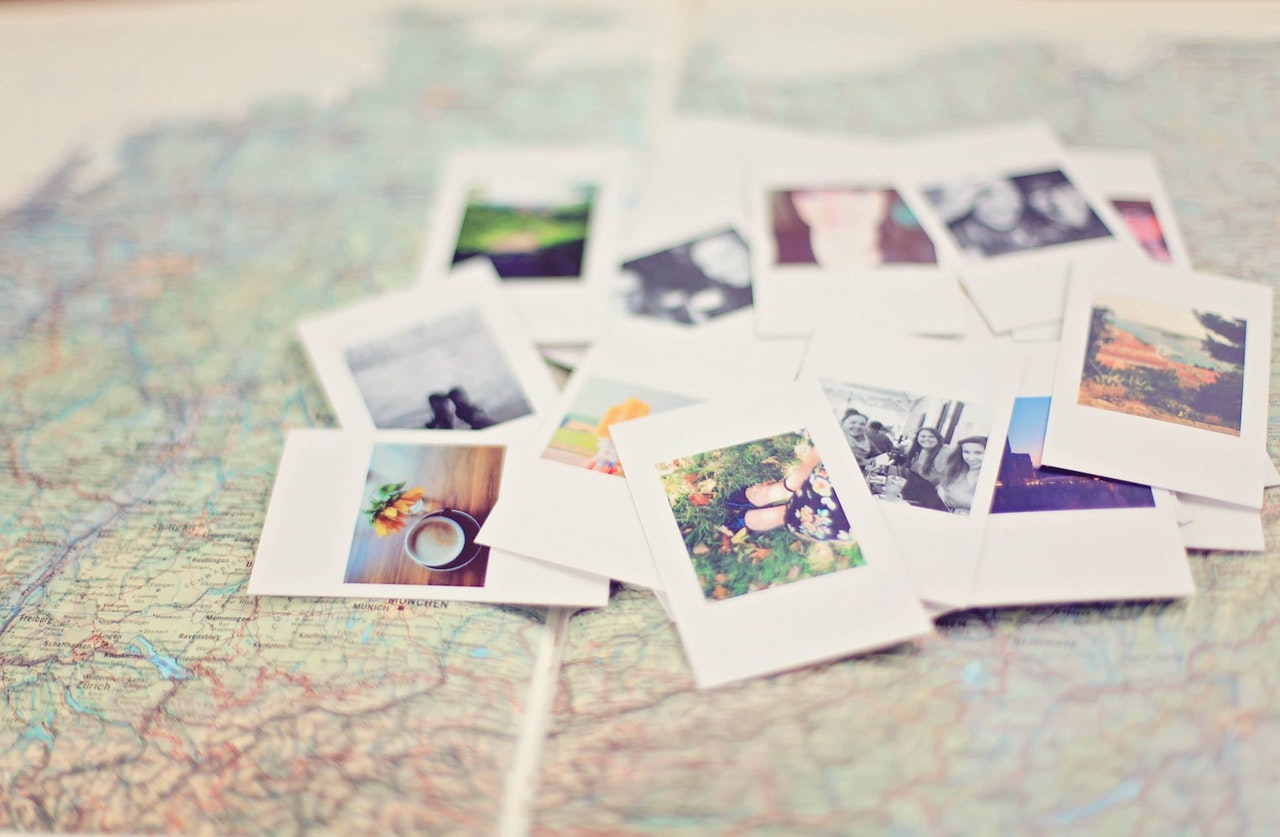
With every smartphone equipped with a built-in camera, taking photos has become a part of most people’s daily lives. And with so many images stacked up on your phone, it’s nice to get them printed every once in a while. But then there’s the dilemma of what to do with all of your printed pictures!
Instead of having them sit in a shoe box or even just placed in an ordinary picture frame, do something creative and exciting with your memories so you have a fun way to look at them rather than just flipping through a bunch of prints. Here are 10 cool things to do with printed pictures. Hopefully, these ideas inspire you to get the photos off of your phone and into your home!
Map Them Out
If you’re a fan of visiting as many states as possible in the U.S. and have lots of photos of your travels, print them out and turn them into a map of the United States. Choose your favorite photo from each state you’ve visited and cut them out to be the shape of the state. You can piece them together on something like poster board or you can paste them onto an actual map and use that as your guide. This is a great, creative way to show off your travels and the perfect inspiration to get out there and see more of the country!
Photo Booth Strip
This is a great idea for portraits of your children, you and your significant other, or all of your loved pets. Print your photos as squares, large or small, and stack them the same way photo booth photos are stacked. You can even have them printed in black and white to give them the look of a film strip. This is a beautiful and unique way to display a series of images as well as fill empty wall space in your home.
Curtain Rod Display
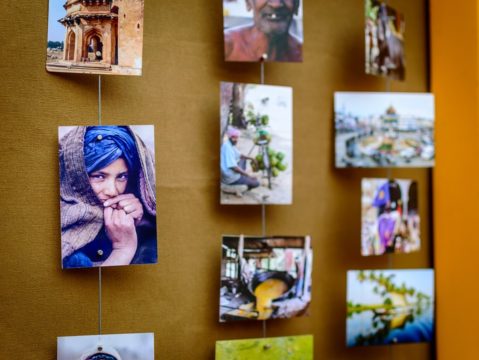
Pick out a cute curtain rod to mount onto a wall. After it’s securely fastened, use festive ribbon to hang framed pictures from it. The photos can be different sizes and the ribbons various lengths, giving your photo display a quirky and crafty look.
Black and White Wall
Choose a large wall in your home that you’re willing to fill entirely with black and white photos. They can all be one size and evenly spread across the space or you can have them printed in different sizes to give your display a more staggered look. If you don’t want to do black and white, you can choose a variety of photos that all have the same color theme. This will give the room a color to match with the rest of your decor.
Window Pane Display
The perfect way to up-cycle an old window pane is by turning it into a picture frame. If you can find a window pane that’s been sectioned off by a grid, that will make for an even more rustic feel to your photo. Print your photo to match the size of the frame and secure it to the back of it using something like staples or hot glue. Hang up your new display and enjoy the rustic feel it will give to your home!
Memory Candles
A cute way to display your sentimental memories is by turning your images into a candle holder. The technique for this uses black and white photo prints and transparent contact paper to transfer your images to glass candle holders. You can use this DIY project as a way to honor a lost loved one or as a fun way to decorate an outdoor patio. Either way, it’s a perfect way to illuminate your memories.
Show Time Passing
A unique way to show the aging of someone you love is by creating a print of half of their face as a child. Make this one a larger print, like a 12’x12, so the half portrait can be proportional to their face. For example, print a photo of grandma from when she was a young girl and have her hold the half up to one side of her face, then photograph her! This is an amazing way to show how much time has passed how beautifully someone has aged.
Photo Letter
Type the first initial of your child’s name and print it large off of your computer. Cut the letter out with a hobby knife and place photos of your child behind it. This is a cute way to decorate their bedroom or their playroom. You can turn this into a bigger project by cutting out all the letters of the alphabet and pasting photos that start with that letter behind it.
Memory Jar
Using a mason jar, place your typical 4×6 photo in the jar and fill it with items that go along with the photo. This is the perfect way to display a family vacation. For example, if you had a beach vacation, fill the jar with sand, shells, toy fish, and mini sea stars. Then situate your photo in the middle of it all. It’s a great conversation starter as well as a fun decoration for your home.
Balloon Memories
A very cute and creative way to celebrate your child’s birthday is by attaching photos of their childhood memories onto balloons filled with helium. After you’ve filled your balloons with helium, tie long ribbons onto them attaching photos to the very end of the ribbon. The photo most likely won’t weigh enough to weigh down the balloons so it will create a cute display of hanging memories and a ceiling covered with colorful balloons. Throughout the party, the balloons will float around the room along with the photos attached to them. You’ll be spending the evening walking through years of your child’s life.
Make Them Into Magnets
Instead of purchasing magnets from a store or online, create your own with your family photos and pictures of you and your friends. Take your printed photos and place them into plastic holders with a small magnet pasted onto the back. You can decorate the sides of the magnet to make a border or you can paste your photos onto colorful construction paper before sliding them into the holders. This a fun way to display your pictures along with decorating your fridge!
Create Comic Strips
Attach some humor to your photos by buying thought bubble stickers to stick onto your pictures. Depending on what’s going on in the photo, write in what your friend or family member looks to be thinking. You can create a comic strip with a series of photos or you can just use one and create a story off of just that. These are great to put up on your refrigerator or place on your coffee table for a hilarious conversation starter.
Repurpose Tin Cans
A great idea for your home office or child’s homework room is to create pen and pencils holders using emptied cans from the food pantry. Remove their label and replace it with a photo of your choice. For example, if this is for your office, paste a picture of you and your children, or of your furry companion. Or, if this is for your kid’s playroom, paste a photo onto the can of them playing with their friends. This is a quick project that will leave you with original holders in less than 10 minutes!
Create a Family Tree
Using empty wall space, paint a large tree onto the wall with many branches and no leaves. Frame your printed photos into wall frames that have been painted different shades of green so they can act as “leaves” for the tree. You don’t necessarily have to place the photos in a certain order on the tree if you don’t want to, but simply hang the photos on branches to display all of your family members. You can use individual portraits of each family member or you can use pictures from family vacations, birthdays, or any type of family get-together. This is a fun display to have in your living room as well as a unique way to fill wall space.
Printed pictures make great gifts, especially if you create unique custom items like mugs or pillows. Check out our shop for more cool ways to print out your best images.


